
a beginner again
never stop learning

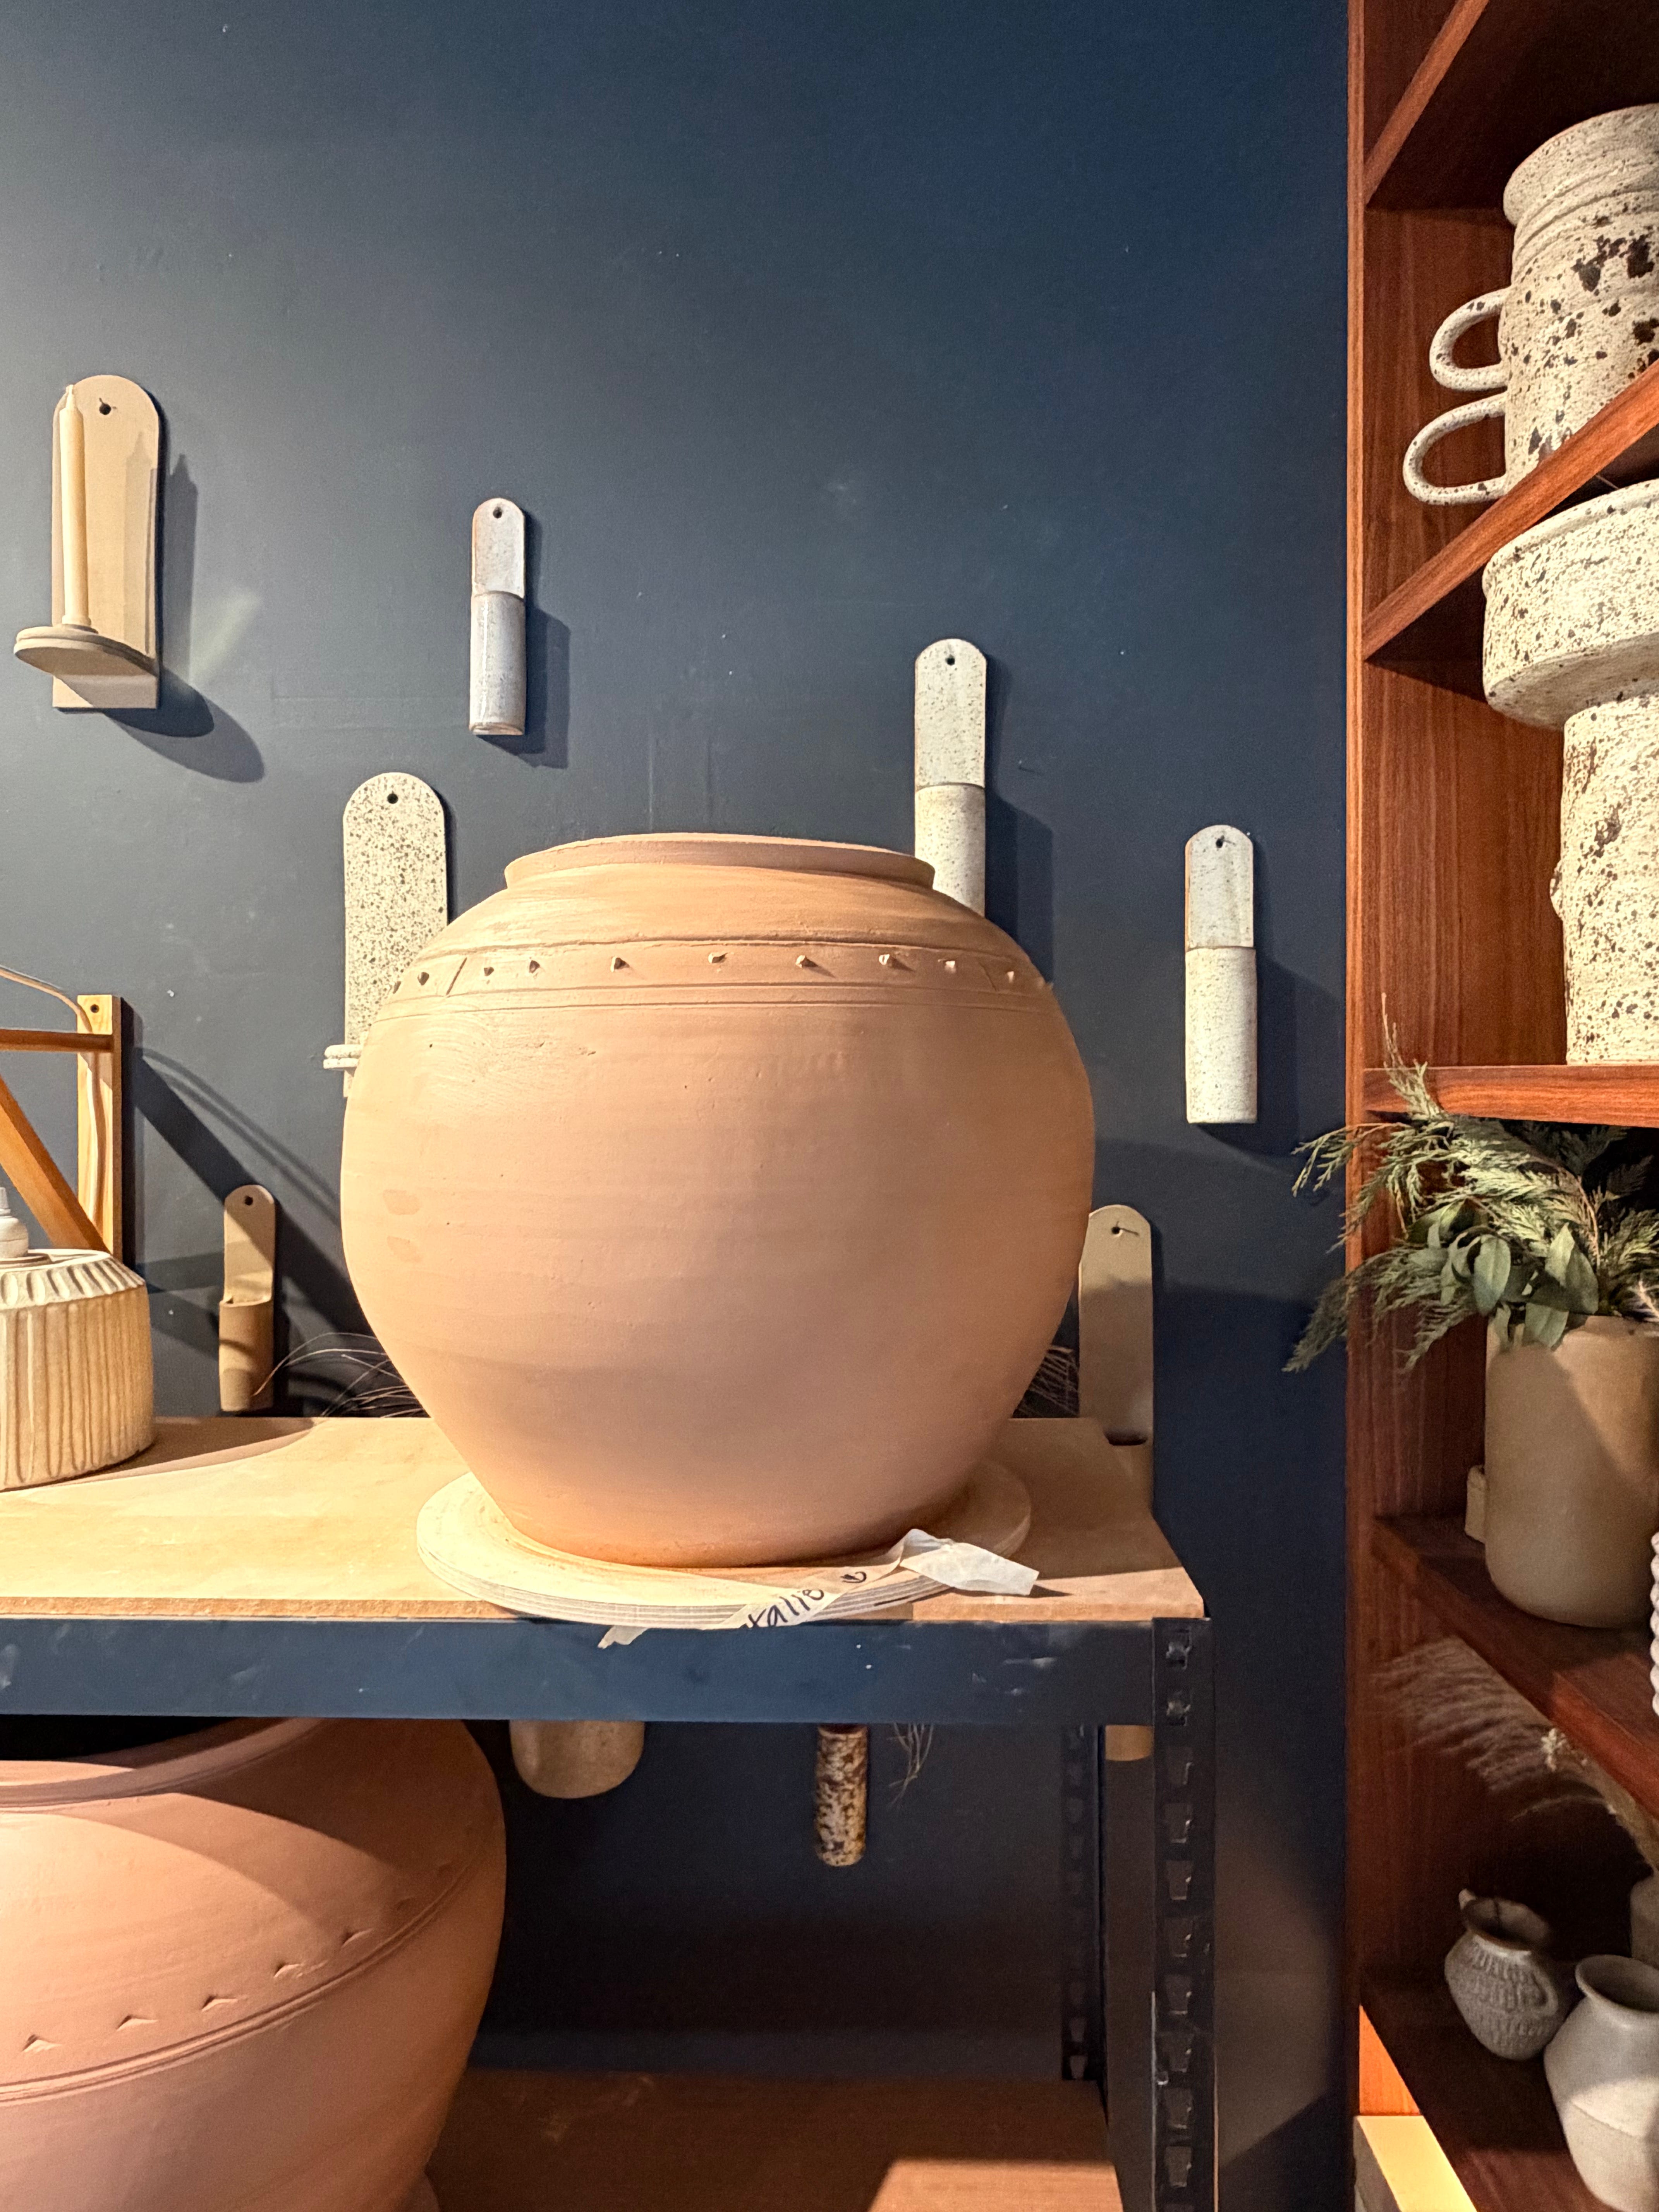
Onggi.
Onggi (옹기) is a traditional Korean earthenware, often referred to as "breathing" pottery, used for thousands of years primarily to store and ferment foods like kimchi, soy sauce, and bean paste. These, often brown-glazed, clay jars have microscopic pores that allow air to pass through while keeping liquid in, which is crucial for perfect fermentation.
San Francisco was closer than South Korea - so I signed up for a 4 day workshop to learn the ancient tradition of Onggi from Master Potter Kwak Kyung Tae. Below are the steps I learned as a beginner again.
Process: The technique is used to build high, strong walls efficiently. Long slabs of clay are placed on edge and attached to the base (badak). The potter then uses a wooden paddle on the outside and an anvil on the inside to tap, stretch, and shape the clay, creating the characteristic, gently curved, and spacious volume of an Onggi jar.
Purpose: This method is crucial for creating large-scale, porous earthenware jars that are stable and watertight, despite the coarse, sandy clay used. The “breathing” nature of these pots is essential for fermenting foods like kimchi and soy sauce.
Skill Level: Taryeom is considered a very difficult and labor-intensive technique among Korean pottery techniques. It requires immense skill to build tall walls without them collapsing.
Taryum: Making The Coil: Turn. Lift. Tilt. Down. hands don’t leave the clay. Repeat. 6-8 sided coil. 5-6cm (2.3 inches)
First Taryum — Making the First Flattened Coil: Make a coil. Twist so it rolls, then roll to 4 cm diameter. Use the Bang-mang (wooden striking club) to flatten — one side thinner than the other: front at 1.3 cm, back at 2 cm.
Making the Base (Badak): Wedge 5 lbs of clay. (1) Create a 35-degree angle on the base by moving from 11:00 to 12:00 all the way around the cylinder. (2) Turn over and flatten using the heel and muscle of the right thumb — rotate with a grab at 11:00, lift and land at 12:00, all the way around the disc; left hand presses into the center throughout. (3) Draw 3 lines to divide into 6 sections. Lift from the front with the right hand supporting the back with an L-shaped left hand. Grab left and right sides on a line and turn 2 hours — bring down toward the body at a parallel angle and let go. The front should lift up. Target thickness: 2.5 cm (1 inch).
Create Floor on Wheel: Apply powder or silica to an MDF board attached to a clay base on the wheel. Powder should not extend beyond the size of the base and should be evenly spread. Center the base (the puck made in step 2) and begin to flatten with the mallet, starting at the center. Pound clockwise — heel of mallet strikes the center while the left hand rests on the base as it spreads outward. When the center feels approximately 2.5 cm, shift from thinning the center to thinning the edge. Heel of mallet strikes at the edge while the tip points toward the center without making contact. When the edge matches the center, compress by moving left to right, turning 90 degrees, four times around. Use the knife tool to smooth the floor, then measure (width of the knife) and cut.
Attach First Taryum to Base: Inside stays inside. Unwind the coil slowly and attach the inside with two fingers. Keep the wall at 90 degrees — straight up and down. Coil a small snake and press it along the inside to seal the wall to the base; this corner must be fully sealed. Apply 1–2 more snakes to ensure the corner is secure. Use an index finger to seal the outside wall to the base. Run a finger around the inside corner again to confirm the seal is strong. The base and wall should not widen at the inside corner or grow taller — remove clay if necessary. Once the first wall is secure, angle it inward 15–20 degrees.
Build Walls: Use Taryum coils to build up walls — 3 Taryums tall, then add a half Taryum. Seal the outside after every addition. Ensure wall thickness remains even throughout. Remove or add clay using a clay ball along the walls and top edge before adding each new coil. Keep walls straight by clapping hands — one inside, one outside — which also maintains the circumference established by the first Taryum. Do not allow the cylinder to narrow or widen.
Flatten Walls: Use paddles inside and outside to flatten walls. Keep walls straight. No shaping yet.
Dry with heat gun or torch.
Shape Walls: Once walls reach desired thickness, shape with metal ribs. Use ribs at a cross angle — inside rib and outside rib meet to form an X. Slowly begin bellying out the cylinder.
Add Narrowing Walls: Add 3 more Taryums at an inward angle to narrow the mouth — this begins the egg shape. Repeat steps 6–8 for these narrower walls.
Rim. Add clay to thicken the rim.
Dry with heat gun or torch.
Refine: Continue the sequence — paddle, rib shape, paddle, torch.
Finish the Rim: Create the strong, final rim using chamois cloth.
Dry with heat gun or torch.

Decorate. Let dry before firing.

I left her in SF to be fired, and her size means a flight back and a road trip to bring her home - if she makes it through the fire. Keep your fingers crossed for us. Onggi was the hardest new skill I’ve learned in a long time and I’m more than grateful for the opportunity to be a student of teacher Kwak Kyung Tae.
Until next time…
고맙습니다!